Welcome to our complete guide on installing lattice panels, presented by Capitol City Lumber, your go-to lumber supplier in Raleigh, NC. Lattice panels offer a perfect blend of elegance, privacy, and functionality for your outdoor spaces. Whether you’re creating a decorative backdrop for your garden, adding a privacy screen to your deck, or defining different areas of your yard, lattice panels provide a versatile solution. Whether you’re a first-time installer or upgrading your existing setup, this guide will take you through the installation process step by step.
Types of Lattice Panels
- Plastic Lattice
- Polypropylene Lattice
- Polyvinyl Chloride (PVC) Lattice
- Resin (Decorative)
- Vinyl Lattice
- Wood Lattice
Use for Lattice Panels
Privacy Lattice Panels
Privacy lattice panels feature smaller openings that offer increased seclusion and reduced visibility, making them ideal for areas where you desire more privacy, such as around hot tubs, patios, or decks. These panels are perfect for creating a secluded outdoor retreat or hiding unsightly areas from view.
Garden Lattice Panels
Garden lattice panels typically have larger openings that allow plants to climb and weave through the lattice. They are great for garden areas, creating beautiful backdrops for climbing plants like vines and roses. These panels can support the growth of plants and flowers, enhancing the natural beauty of your garden.
Materials and Tools You Need
- Lattice panels
- Measuring tape
- Saw (if cutting panels to size)
- Level
- Screws or nails
- Drill or hammer
- Outdoor wood screws or galvanized nails
- Post hole digger (if installing freestanding panels)
- Concrete mix (if setting posts)
- Brackets or L-angles (for added stability)
- Wood preservative or paint (optional for weather protection)
- Safety gear (gloves, safety glasses, etc.)
Step-By-Step Instructions
- Measure and Plan:
- Determine the area where you want to install the lattice panels. Measure the height and width to ensure you purchase the correct size panels and enough materials for the job.
- Plan the layout to understand where the panels, posts, and any necessary supports will be placed.
- Prepare the Area:
- Clear the installation area of any debris, plants, or obstacles.
- Ensure the ground is level if you are installing a freestanding lattice panel. Use a shovel and rake to level the area if necessary.
- Cut the Panels (if necessary):
- Measure and mark the lattice panels to fit the dimensions of your installation area.
- Use a circular saw or jigsaw to make precise cuts. Always wear safety gear when cutting panels.
- Install the Posts (for freestanding panels):
- Mark the locations for your posts. Dig post holes approximately one-third the length of the posts deep.
- Place the posts in the holes, ensuring they are plumb (vertically level). Fill the holes with concrete mix and let it set according to the manufacturer’s instructions.
- Attach the Panels:
- For wall-mounted panels: Align the lattice panel against the wall. Use a drill to make pilot holes through the lattice and into the wall structure. Secure the panel with outdoor screws or galvanized nails.
- For freestanding panels: Once the concrete around the posts has been set, align the lattice panel with the posts. Use brackets or L-angles for added stability, then secure the panel to the posts with outdoor wood screws or galvanized nails.
- Privacy Lattice Panels: When installing privacy lattice panels, ensure that the smaller openings are oriented correctly to maximize privacy. These panels are perfect for creating a secluded area, so take care to position them in a way that blocks sight lines effectively.
- Garden Lattice Panels: For garden lattice panels, consider the placement in relation to your plants. These panels should be positioned to support climbing plants, so ensure that the larger openings are accessible for vines and other climbers.
- Level and Secure:
- Use a level to ensure the panels are aligned correctly before fully securing them. Adjust as necessary.
- Tighten all fasteners securely, ensuring the panel is stable and firmly attached.
- Finish:
- Apply a wood preservative or paint to the lattice panels if desired. This helps protect the wood from the elements and extends the lifespan of your installation.
- Allow the preservative or paint to dry completely before exposing the panels to the elements.
Upgrade Your Outdoor Space with Lattice Panels from Capitol City Lumber
Capitol City Lumber is your premier destination for top-quality lumber and building supplies. Explore our selection of premium lattice panels designed to elevate your outdoor living experience:
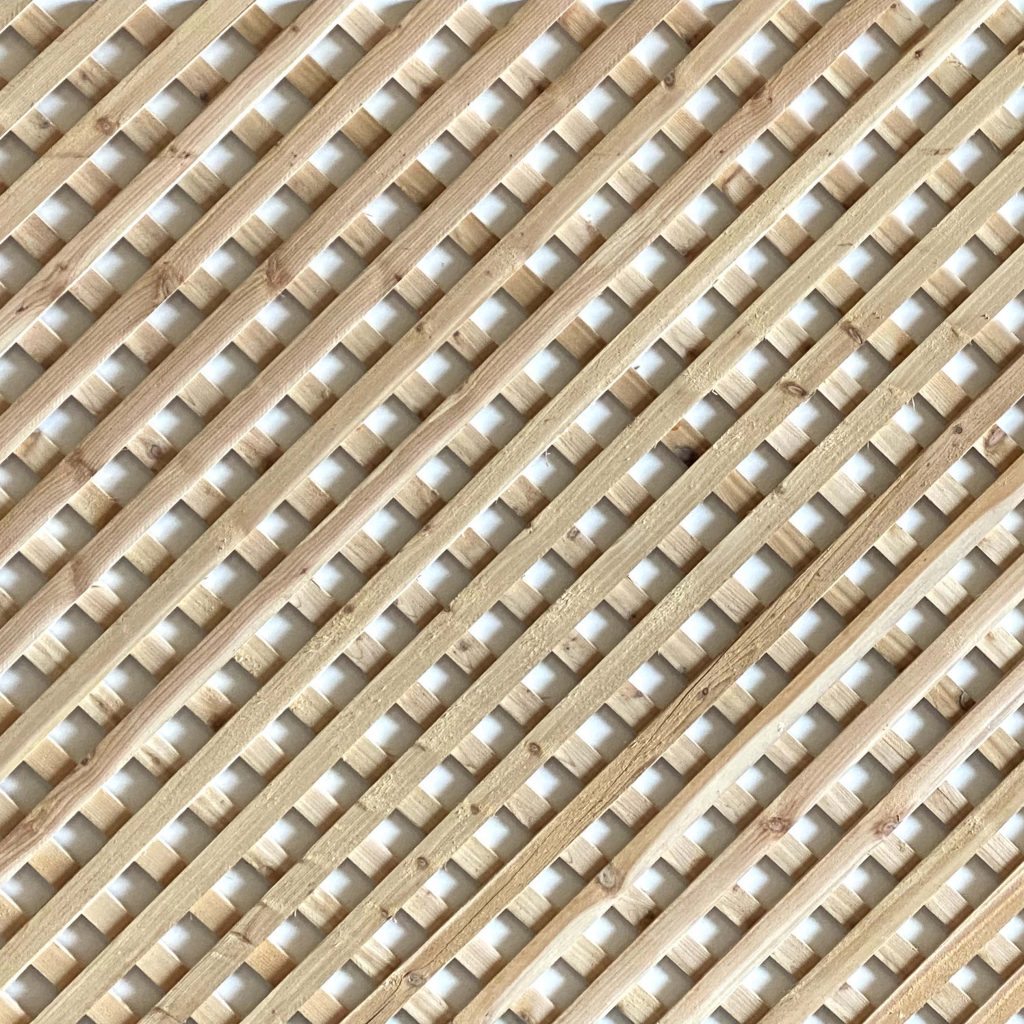
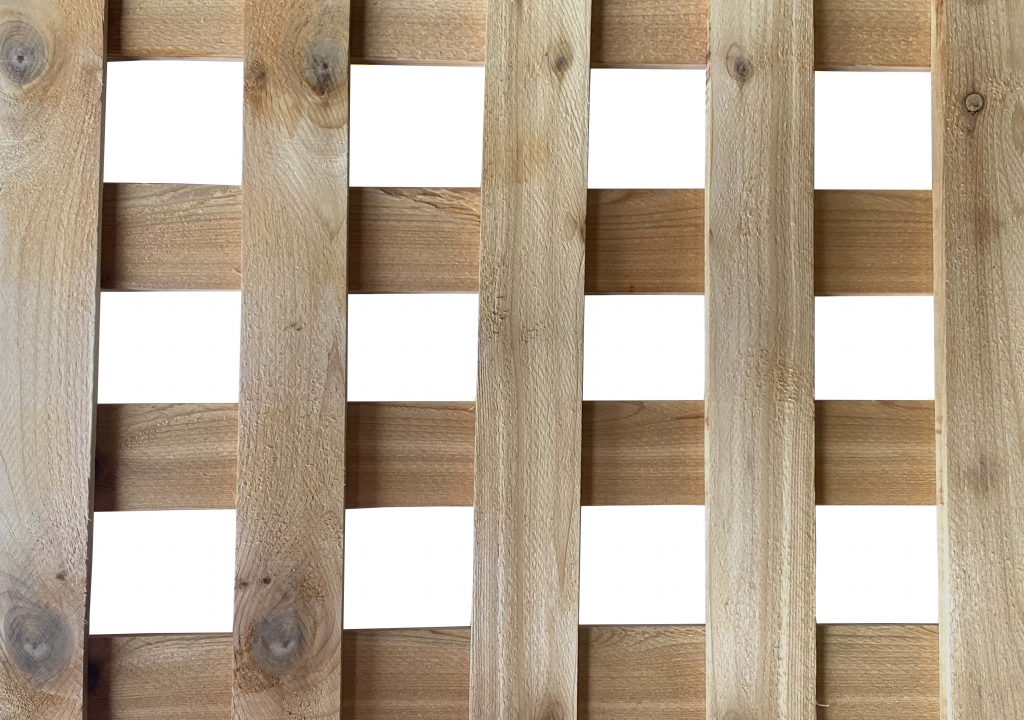
Diagonal Woodway Fir Premium Privacy Lattice:
Original price: $115.89 Now: $90.89
Crafted from premium treated Hem-fir, this panel offers enhanced privacy with its diagonal pattern and closer slats. Measuring 4’ by 8’ and 7/8” thick, it provides approximately 70% shading, making it ideal for various outdoor applications.
Highland Park Heavy Duty Cedar Privacy Lattice:
Original price: $194.99 Now: $152.99
Constructed with thicker laths, this rough cedar panel measures 4’ by 6’ and offers 80% shade with 5/8″ wide openings. Naturally resistant to rot and insects, it’s perfect for use as an exterior fence, space divider, or trellis.
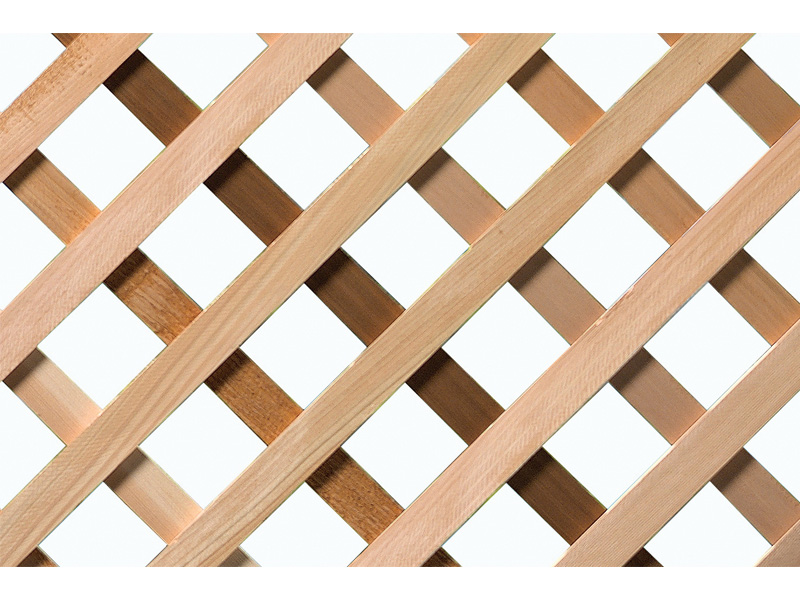
Diagonal Heavy Duty Cedar Privacy Lattice:
Original price: $104.89 Now: $82.79
Featuring a diagonal pattern, this cedar panel measures 4’ by 8’ and offers 70% shade with 1-3/4″ wide openings. It’s ideal for use as an exterior fence, garden divider, or trellis and is naturally resistant to rot and decay.
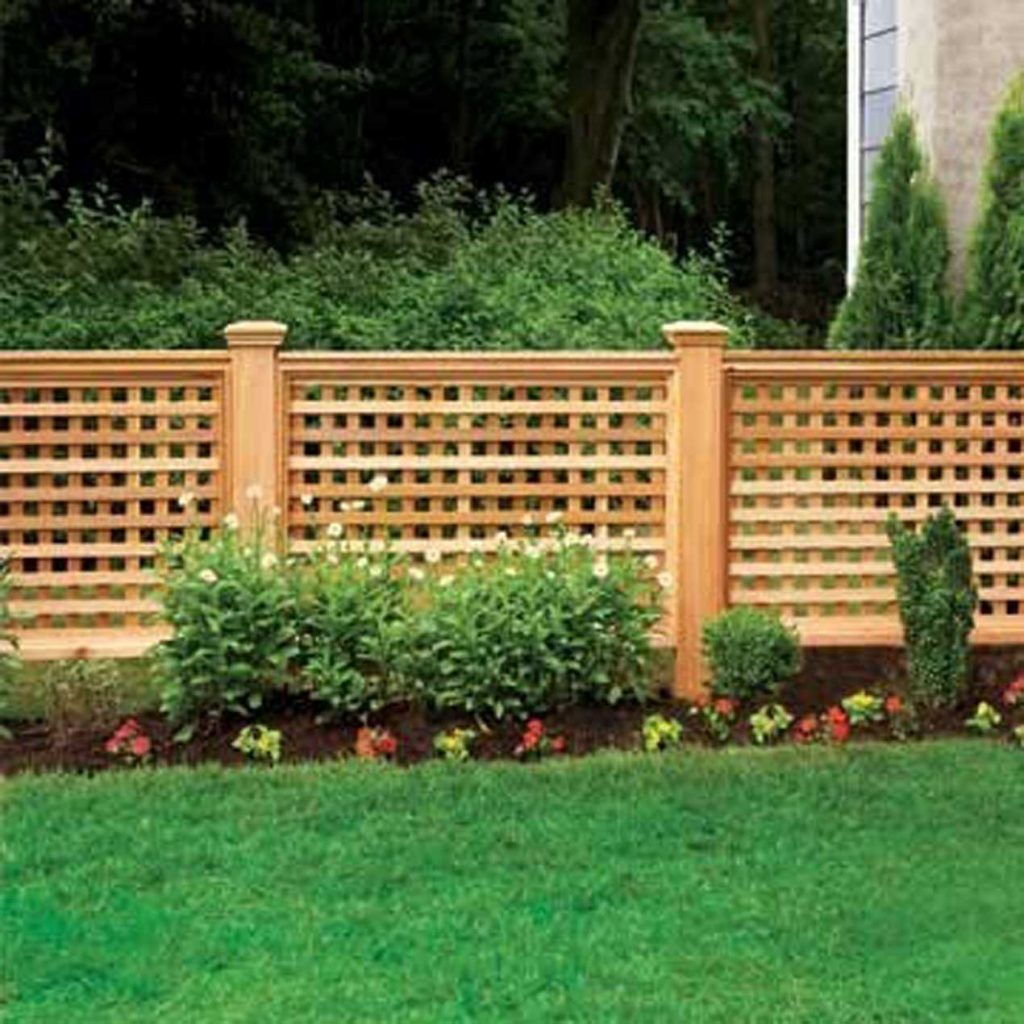
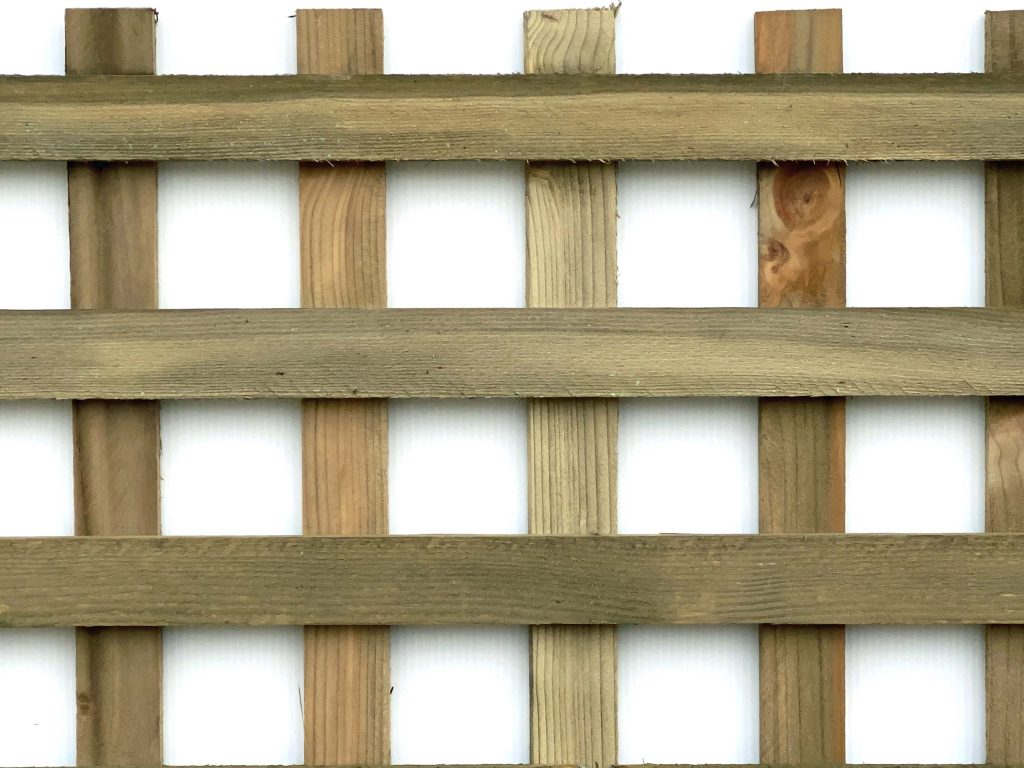
Square Heavy Duty Cedar Privacy Lattice:
Original price: $129.39 Now: $101.69
Crafted in a square pattern, this rough cedar panel measures 4’ by 8’ and is 7/8” thick. Offering 70% shade with 1-3/4″ wide openings, it’s suitable for various outdoor applications and is naturally resistant to rot and insects.
Square Woodway Premium Cedar Garden Lattice:
Original price: $117.89 Now: $89.99
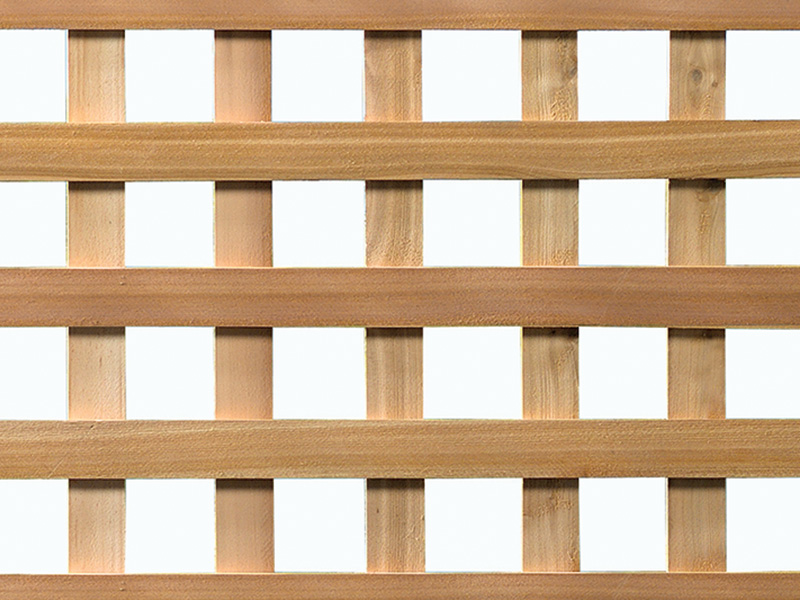
Made from western red cedar, this panel measures 4’ by 8’ and allows plenty of sunlight through with 1-3/4″ wide openings. It’s ideal for use as an exterior fence, garden divider, or trellis, it’s blemish-free and clear-graded for interior and exterior installations.
Square Woodway Fir Garden Lattice:
Original price: $123.89 Now: $98.69
This high-end product uses stainless steel brads instead of staples for a virtually blemish-free finish. Kiln-dried and clear-graded, it’s perfect for all interior and exterior installations. With a full 7/8″ thick panel allowing for plenty of sunlight, it features a 2-1/2″ wide opening for approximately 50% shading.
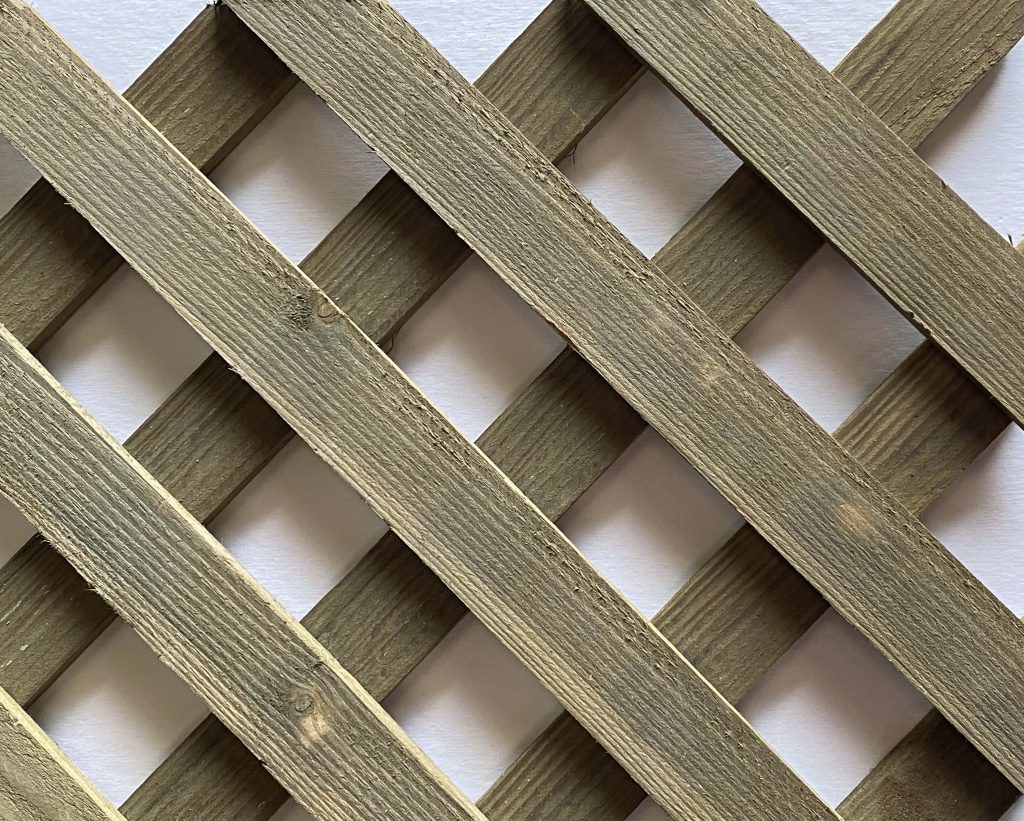
Diagonal Woodway Premium Cedar Garden Lattice:
Original price: $92.89 Now: $72.99
Crafted from premium treated Hem-fir in a diagonal pattern, this cedar panel measures 4’ by 8’ and offers approximately 70% shading. With each lattice lath measuring 7/16″ thick, it’s perfect for use as an exterior fence, garden divider, or trellis.
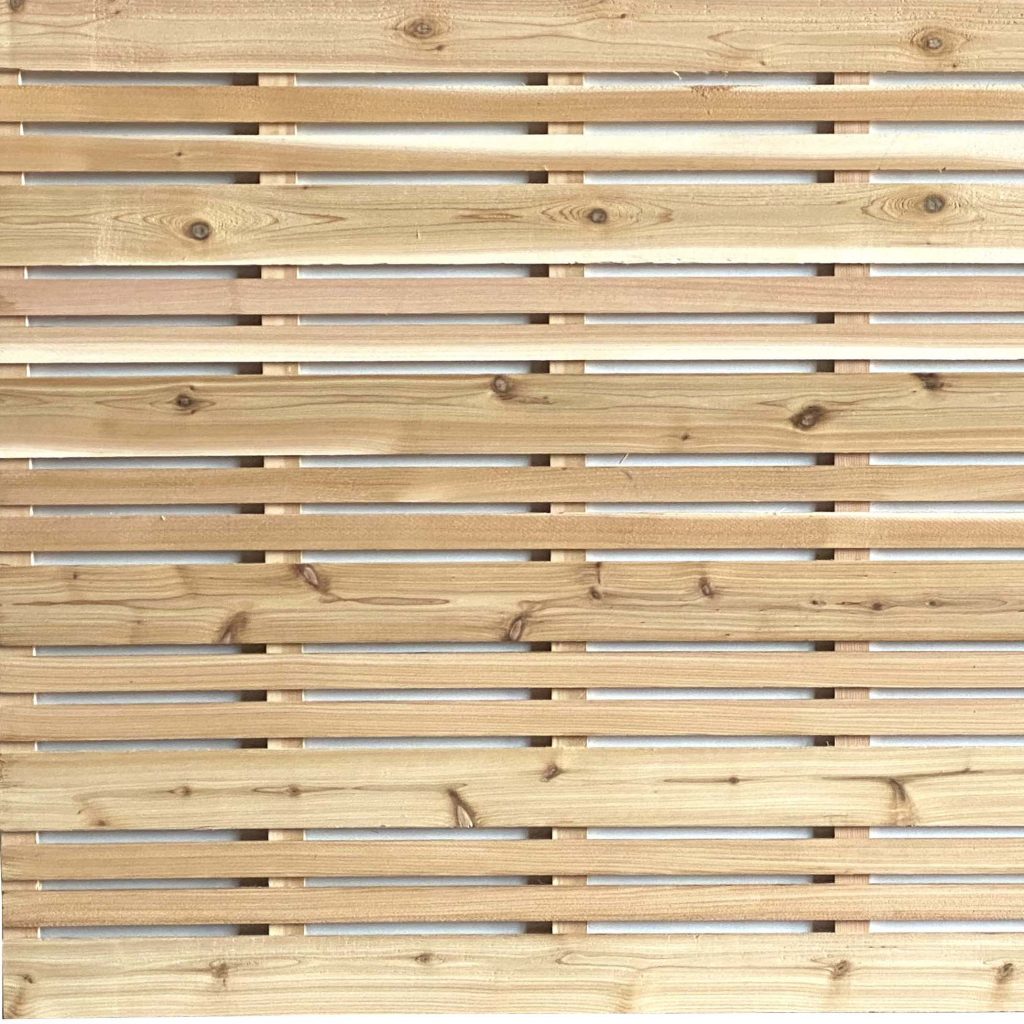
Moderna Privacy Lattice Panel Screen:
Cedar (Clear Grade)
Original Price $193.59 Now: $147.19
Mahogany
Original price: $253.89 Now: $189.99

Available in clear-graded Western Red Cedar and Mahogany species, these interior/exterior wood panels redefine privacy and screening with their clean, minimalist design. They are perfect for various applications, including privacy screening, architectural accents, and landscaping.
Catalina Woodway Cedar Lattice:
Original price: $139.99 Now: $105.29
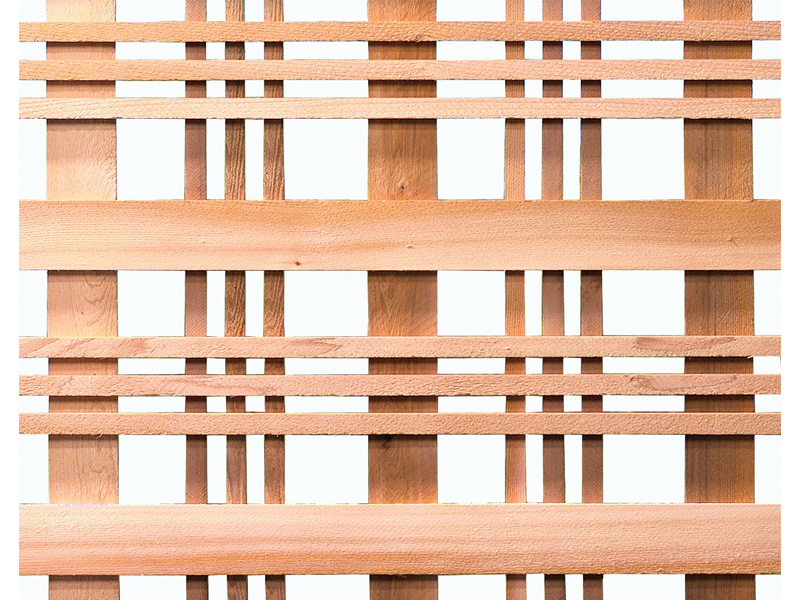
This lattice is made with kiln-dried select tight-knot Western Red Cedar and features a rich, elegant square pattern. Measuring 3’ by 6’ and 13/16” thick, it adds a touch of class to all your projects with its wide and narrow laths.
Contact Us for Premium Lattice Panels!
Ready to upgrade your outdoor living space with premium lattice panels from Capitol City Lumber? Call us today at 919.832.6492, order online, or reach out to us online to learn more about our products

